
Start with straight, well-lit overall photos, then add close views of edges, hardware, texture, damage, and anything that interrupts the usable surface.
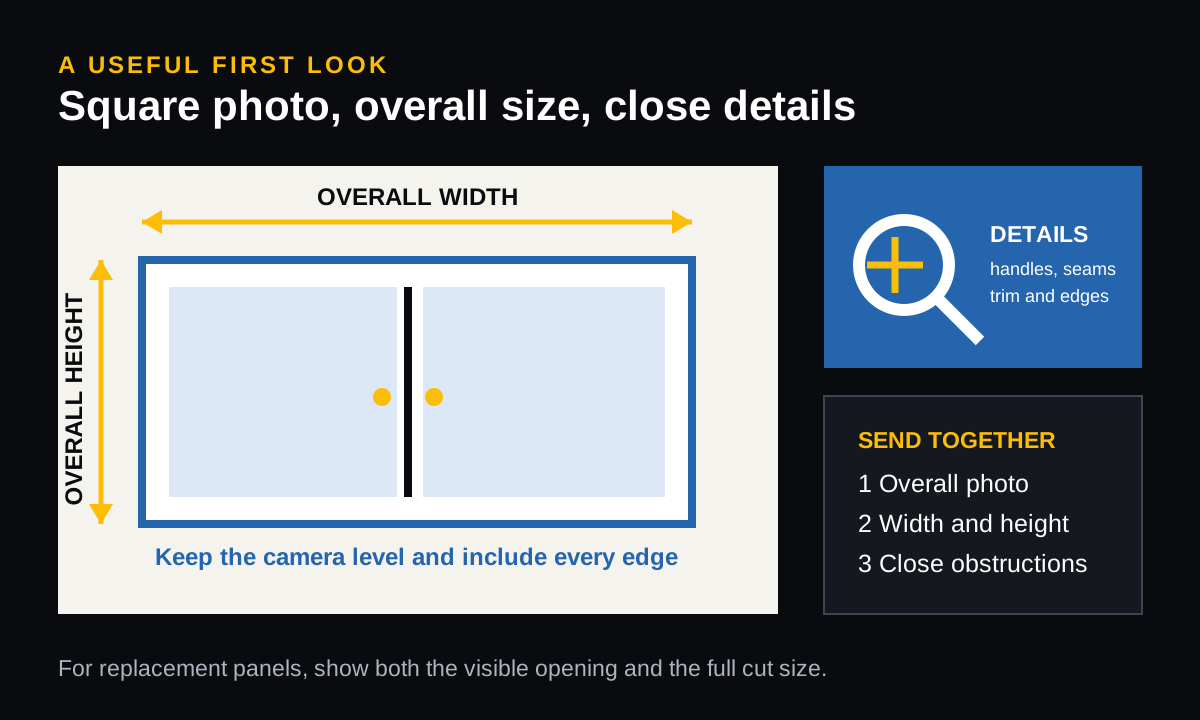
Photograph the whole application
Stand far enough back to keep the camera level and the surface square. Include every edge so scale and obstructions are visible.
Add close details
Photograph seams, handles, hinges, trim, clips, vents, wall texture, and existing adhesive or damage. Those details often determine the material or installation method.
Measure the surface as well as the desired graphic
Provide the overall width and height plus the location of interruptions. For a replacement panel, distinguish the visible opening from the full cut size.
Send photos for a recommendation based on your project
The right material and production method depend on the surface, location, size, expected life, and installation conditions.